Thursday, May 12, 2016

Disney World 2016 Update

Been a gazillion years since I blogged, but I've had so many people text, message, or call me about Disney that I've felt overwhelmed about getting back to reach of them individually. I figured dusting off the old blog and making a post would be the easiest way to get the word out.
First of all, if you haven't already click above on the Disney Tips tab. There are so many things I've written before about Disney that are still great ideas. From where to eat to what to do as far as safety goes. Be sure you start there, because I'm trying to only post new stuff here. Also, know that I am NO expert when it comes to Disney. I'm just sharing what we've done and how it worked for us. I'm not getting paid to tell you about Disney(although I wouldn't mind that job.)
So, we just finished our fifth trip to Disney. This was our second trip in May. This brings me to my first thought. Go off season! The best time, in our opinion, is September! The crowds are so much easier to manage, and wait times will be better for rides. Early May is also considered off season, but we found this last time that lots of other people also thought early May was the time to go.  It was CROWDED! Going off season is also cheaper. Which brings me to my next thought-NEVER pay full-price for Disney!
There are almost always discounts available. We've gone with several different types of discounts from kids stay and play free to free dining. Go here to see current discounts. The great thing about discounts is that if a better one comes up before you go you can almost always get them to switch it over as long as it's not within 30 days of your vacation(your vacation is paid in full). Know that going to Disney is NOT cheap. For a week long trip we usually spend about $1000 per person with everything included. I'm sure there are ways to make it more affordable, but we have a motto that in Disney why say no when you could say YES! We give each of the kids a gift card when we get there that has their spending money on it. They can use their card to buy ANYTHING they want as long as it's within their limit. The great thing about Disney is that you can make your reservation with a $200 deposit, then make payments at your own pace as long as it's paid for within 30 days of your trip. We also MAJORLY save by using our Disney Chase card throughout the year. Each dollar we spend earns us Disney points that can later be used on ANYTHING Disney. This year we used our points to pay for our deposit, 1/3 of the cost of the trip, then ALL the spending money! If you haven't heard of this sweet deal from Chase you might want to look into it. We just use ours like cash on groceries and gas, then pay it off at the end of the month!

Have I mentioned I've already written a TON about Disney Dos and Don'ts? Here is a great post with info we still mostly follow.
The last two times we've gotten 5-DAY park hopper tickets and we've pretty much worked out a perfect system to see all the attractions we are interested in within the five days. We generally spend 2 full days in Magic Kingdom(the park with the most rides and best attractions for smaller children) a full day in Hollywood Studios(although due to several closures in that park you could probably spend only a half day and still do everything that is until the new areas open next summer!), and a half day in both Animal Kindgom(which is also about to have a lot of new attractions) and Epcot. We've also gone with 7 day passes and taken things a lot slower, but really, 5 days is enough in our opinion.
Those with older kids(or smaller families) may also like adding the waterpark feature onto their tickets. We plan to do this the next time we go in 2018. We've never been before, but they look like a lot of fun. If you're planning to add this feature to your tickets I'd say adding a day to your trip is a smart idea and go ahead and do 6 or 7 day passes instead of the 5 day passes.
Fast Passes(FP+) are a MUST in the park now. They are basically you saying THIS is when I plan to be at this ride. They are a 1 hour window, and are used to make lines MUCH shorter. For instance, The Dwarf's Mine Train never had a line shorter than about a 60 minute wait and was more often 95 minutes. With our fast passes we were able to skip the line altogether and ride in about 5 minutes. There are differing theories about how to use FP+ and when, but the bottom line is you get THREE choices. Until you've used those up you don't get any more. Once all three are used you can keep adding one at a time. We used them for our three most desired rides each day and reserved them AT MIDNIGHT on the night we were able to reserve them. If you don't, you'll likely not get all the reservations you want, but know that they will at times become available due to people changing their plans around. If you have a large group going, or you are going at peak season though, I HIGHLY suggest you making those reservations ASAP!
Dining reservations are also a must! Here are some tips I wrote about that. Most of them are still great EXCEPT!! Pizza Planet(one of my kids FAVORITE things to do in Disney World closed it's doors as one of the MANY closures at Hollywood Studio! BOO!)  It's tough to get in to restaurants last minute especially when you have a large group, so plan ahead and reserve meals ahead of time. We also ALWAYS use a dining plan. If you do your research you'll find that you can stretch your plan even more by using your snack as a meal in several places around the resort. Our favorite-the GIANT cinnamon rolls in Gaston's tavern. ALSO, Be our Guest is AMAZING and for sure worth the quick service reservation you can get for breakfast now. We got ours for 8am, then were able to be in the park ready for rides when they opened at 9.
Not sure when to be at each park? Check out Undercover Tourist. They have a GREAT crowd calendar that has been accurate for each trip we've ever taken! They also have touring plans that will save you TONS of time trying to plan each day. Take them and make them yours and you'll be sure to get to each attraction you want most! We love Undercover Tourist!
OK, our new must do list has to include some fun things we've recently learned about.
  • Pirate Adventure Cruises If you've got a young pirate you'll want to check this out!
  • Jedi Training Academy Brubbs did this on his trip last year! So fun! Be sure to get to the park early to sign up because spots go FAST!
  • Winter Summerland Miniature Golf This is a great activity to do on your arrival or departure day. Doesn't take long, and if you plan and book your trip through Disney you get free tickets.
  • Lots of new and changing Firework activity in Hollywood Studio and Animal Kingdom.
  • Characters in Flight None of us had ever been in a hot air balloon. This isn't actually a Hot air balloon, but basically the same. Only runs when the weather is nice and there isn't much wind, so we've only been able to do it once, but there's lots of other great things to do in Disney Springs(where it's located).
People always ask me what the best time to go is. I always joke and say-NOW! It's true! But, seriously, 4-10 seems to be the best age as far as being able to do the most and it still be magical. OK, that's all I can think of for now. PLEASE read my post on Disney safety if you are planning to take young children. Now that they have magic bands there is a lot less worry because Disney can pinpoint their location or your location, but there is still a lot you can do to keep your littles safe at the most magical place on earth!

Saturday, March 28, 2015

Smittles Overhaul the Hizzy:Kitchen Update and Dining Room

So, because we are crazy and had NO idea what a chore it would be, we completed the kitchen FIRST. I mean, we took cream cabinets and painted those suckers GRAY. It took forever to keep the kids off of them long enough that they could dry!! I posted the pics of the kitchen here, but we've updated it quite a bit as I've gotten things here and there, so I wanted to give you a brief update, then share my most favorite room of all, the DINING ROOM!!
So, over Christmas break we went to visit Manly's family. I mentioned that I loved a few of the things they had around their house, and that's when it happened. Manly's granddad invited me to come into the BASEMENT! I had only been one time before in all the time I've known Manly and his family, but I remembered one thing: there was a LOT of stuff down there!! We slowly walked the stairs down to what can only be described as pure mid-century bliss. Imagine a space filled with every artifact from the 50s-80s. Everywhere. Then he turns to me and says, "Well, what do you want?" ARE YOU KIDDING ME!!?!?! I WANT IT ALL! I nearly cried, ya'll. I went straight to the back and worked my way forward. We're talking vintage clothes, vintage game systems, antiques, precious clothing worn by my Man and his cousins and Aunt Steph. I was in heaven. I collected several things I'd had my eye on while shopping flea markets. I kept saying, "This is amazing!" over and over again. I pack our suburban down as much as we could and vowed I'd be back! Most of the items we got(aside from some KILLER outfits for Lulu and me) were cleaned and placed in the kitchen. I was wanting a modern version of a 50s kitchen in here. I don't really know what it is about that style that lures me in, but I'm hooked!
All of those colored cups came from the Grands. I LOVE them for the kids. The yellow coffee cups are plastic, and PERFECT for hot cocoa! The black thing on the top shelf is a coffee pot that's all tarnished. I was going to clean it up, but it has so much charm! We got TONS of tiny mason jars with little stars on them that are so cute, a whole set of punch cups, and some vintage coffee cups that Manly can remember different members of his family using. The teapot is from MY grandma.
 
I used a tension rod to add this curtain to my spice cabinet. I got some extra fabric that matched the barstools I recovered at the beginning of our makeover journey. This keeps the "ugly" from showing. It also reminds me of Friends! Ha! Sometimes I even pretend I'm Monica.
 
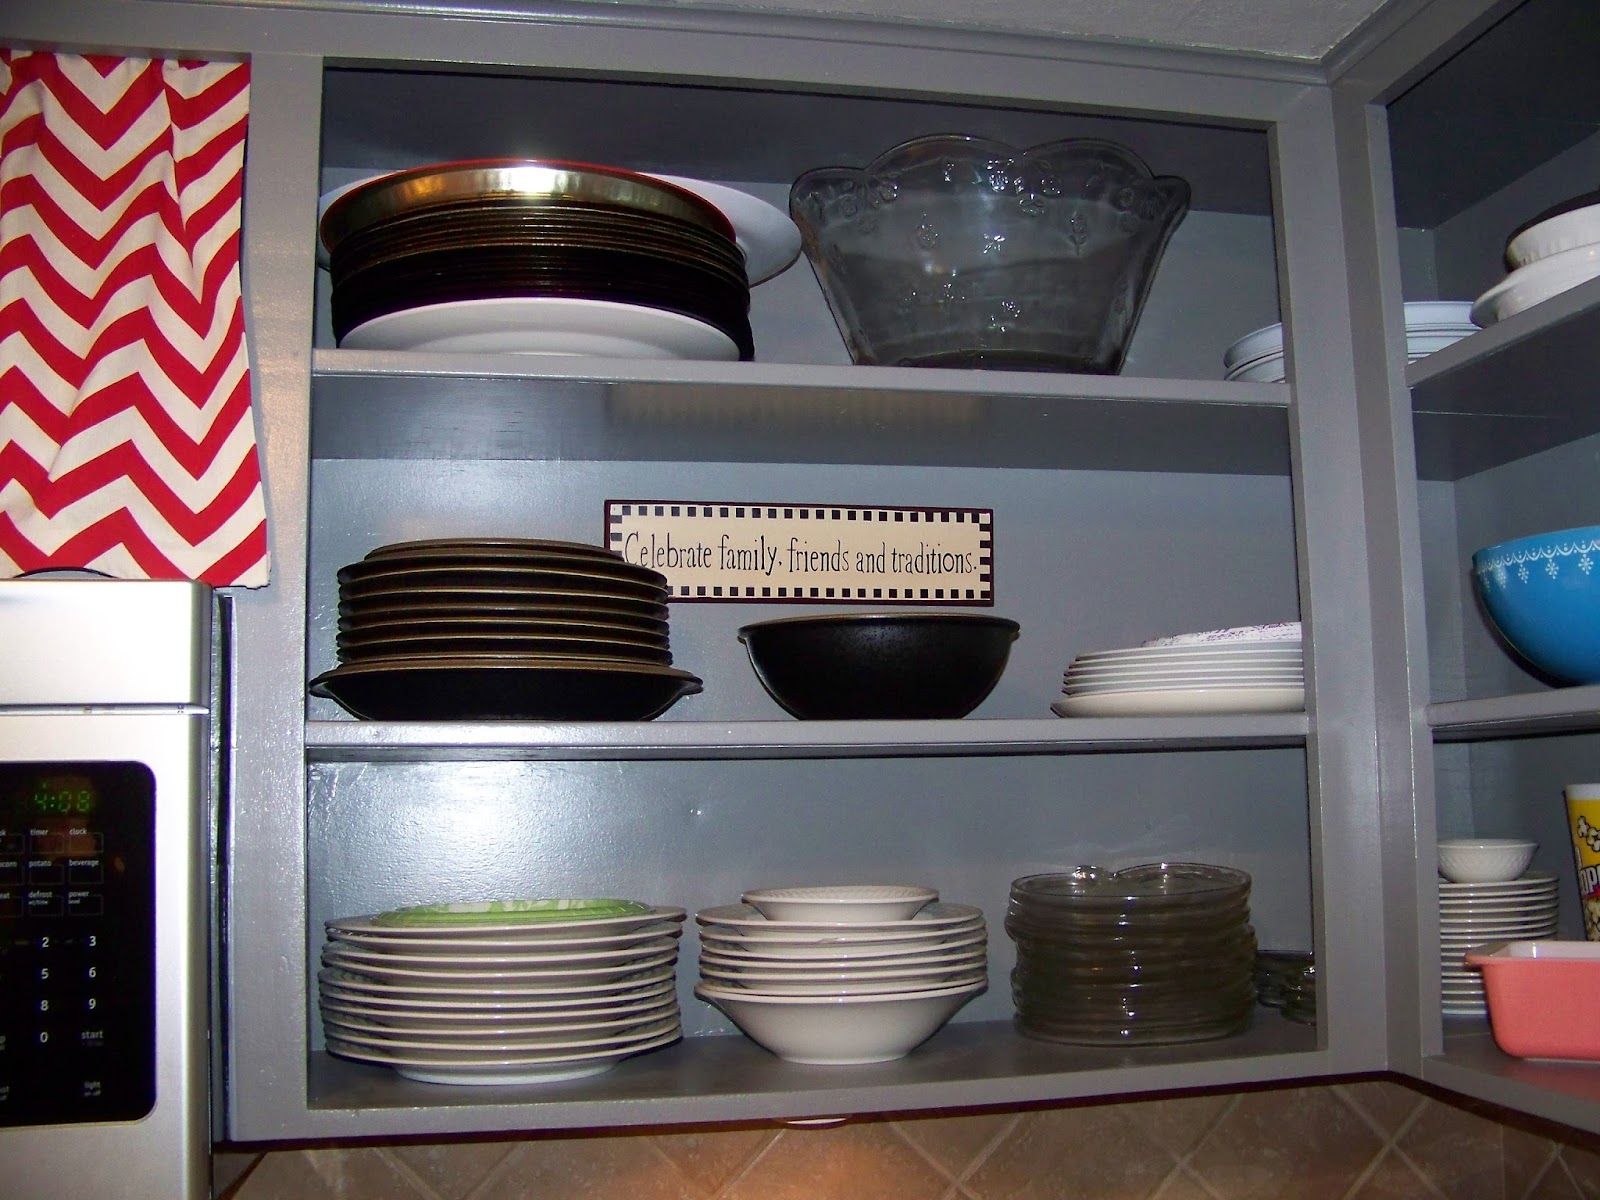
I also decided to follow something we did at my mom's house and hang a few signs IN the cabinets. I like how it makes even the cabinets seem like artwork.
 
Ya'll are you kidding me with all these cuties?! I love the little hen! The bowl set is reDONKulously beautiful!! I actually bought the hippos for Manly for Christmas. He had always said he wanted to have a salt and pepper shaker collection! Now he does. Ha!
 
A view of the other side of the kitchen. We will eventually change out the fridge and the oven. We've just been updating them as needed. See the cute little clips on the fridge? Those are for all the kids important papers from school or church that we need to have close daily. Each child has their own color to keep things simple. Works out great for us!
 
Family calendar.
 
I love this wall in the house. Aside from a few prints I got from IKEA these are all original Little Smittle originals. I plan to keep going around the room with them, but I'm filling in this wall first. I plan to add in other little prints as we go. It adds such a pop of color!
 
My cutie table and stools. I found this table at Salvation Army for $8, took off the top, and built a new one. I used sand paper to clean the rust off the metal. I love this tiny place for the girls to do homework, or to use if we are having snack in the kitchen(to go along with the barstools at the bar.)
 
Another view that also includes the cubbies and my public market print. If you know me, you know I love Grey's Anatomy. I love this print they have at the hospital, so I looked it up and found a print! Love it! You can also see the kids colors again in this pic.
 
Another pic of the cubbies. Manly saved these cubbies from the dumpster, brought them home, painted them, and added hooks.


My tiniest Littles eating their lunch and being cute!
 
And now, moving on to the Dining Room. My favorite room in the house!
Such a cool print from IKEA. I liked it for the character and simplicity. It really stands out against the darker grey(Benjamin Moore-Kendall Charcoal HC166)
 
Dresser from when Manly and I first got married. Manly's prized possession(record player), and a cool accordion I picked up from Goodwill. You will also notice Manly has a nice record collection.
 
See this BEAUTIFUL table!? My good sweet Manly made it for me!! Isn't it perfect?! It's to beautiful. We did everything on our own from making a plan to staining/painting. I love it. We pared it with these wonderful clear acrylic chairs from IKEA. They are a little bouncy, so that's fun with six kids. Ha! They are easy to keep clean, and punch up the modern factor. That awesome wall? That was hours of hand painting. Probably the job that took the longest aside from the kitchen, but I'd do it again in a second! It was hard, but it TOTALLY paid off and we all love it! The background color is the same shade as the kitchen(Benjamin Moore-Revere Pewter HC172). I chose to use all the accent colors we already had in the house. It turned out really really cool.
 
A closer look of the stencil wall, and a pic of my wood shim mirror! I made this beast of a mirror with three packs of wood shims from Lowe's and three shades of stain.
 
LOVE this serving cart I got from my dear Aunt Teresa. I left it completely as is. You can raise the sides to make it a larger table.
 
A view of the other side of the room. You can also see my other cornice board. Such an easy way to style up the otherwise UGLY sliding glass door! 


My beautiful beautiful chandelier One of my favorite IKEA finds. It casts such a lovely glow on the room.

Look how pretty it is in front of my wall!! The mirror! It's just too much!!!


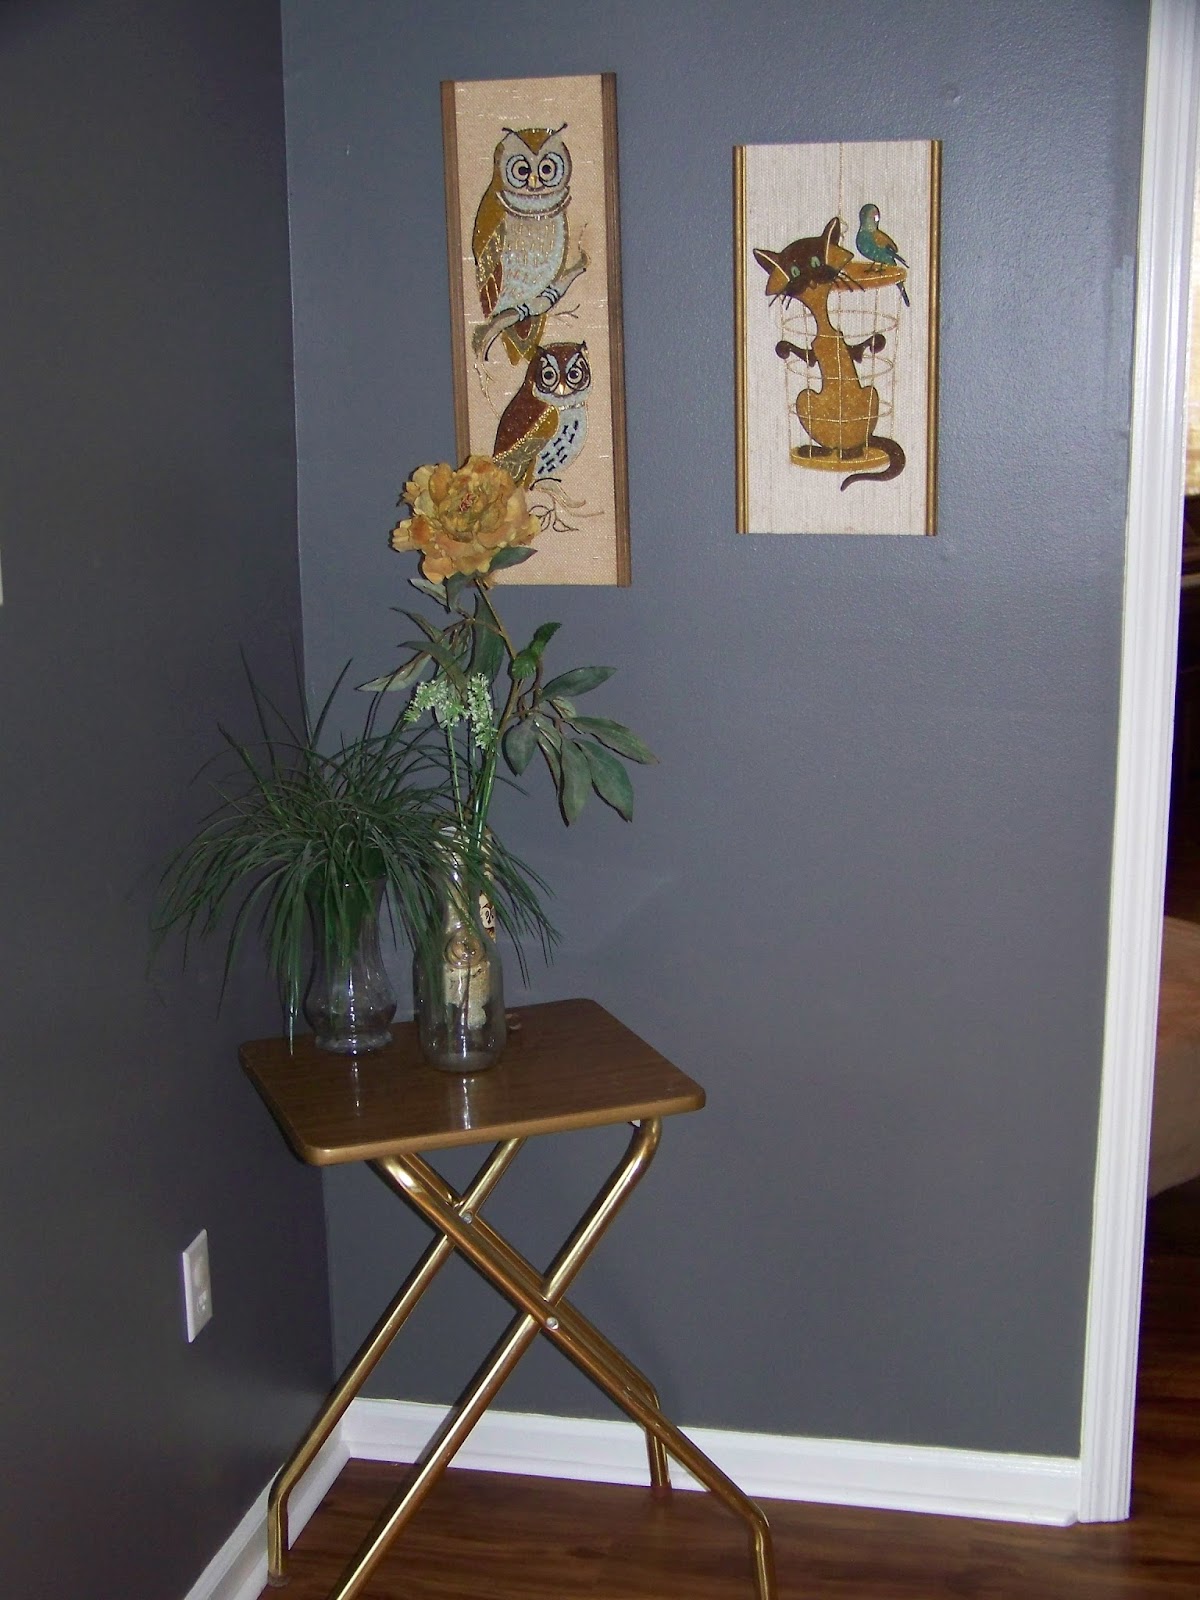
Manly found this vintage tray on the side of the road. Love the mid century style. The art behind?! Oh EM GEEE!!! I totally totally love it!! I found them at a Flea Market for $5 for a set of FOUR!!! Two birds and two cats. I should have taken a pic of the other side. Sorry!

Table top. Manly did such a great job! Also, the chandelier is so pretty!!
 
View from the living room. Love this place we call home!

Thursday, March 19, 2015

Furniture Painting

So, I promised a quick run through of how I painted the chair, what I think of it now, and if I recommend it to others. Here's the scoop.

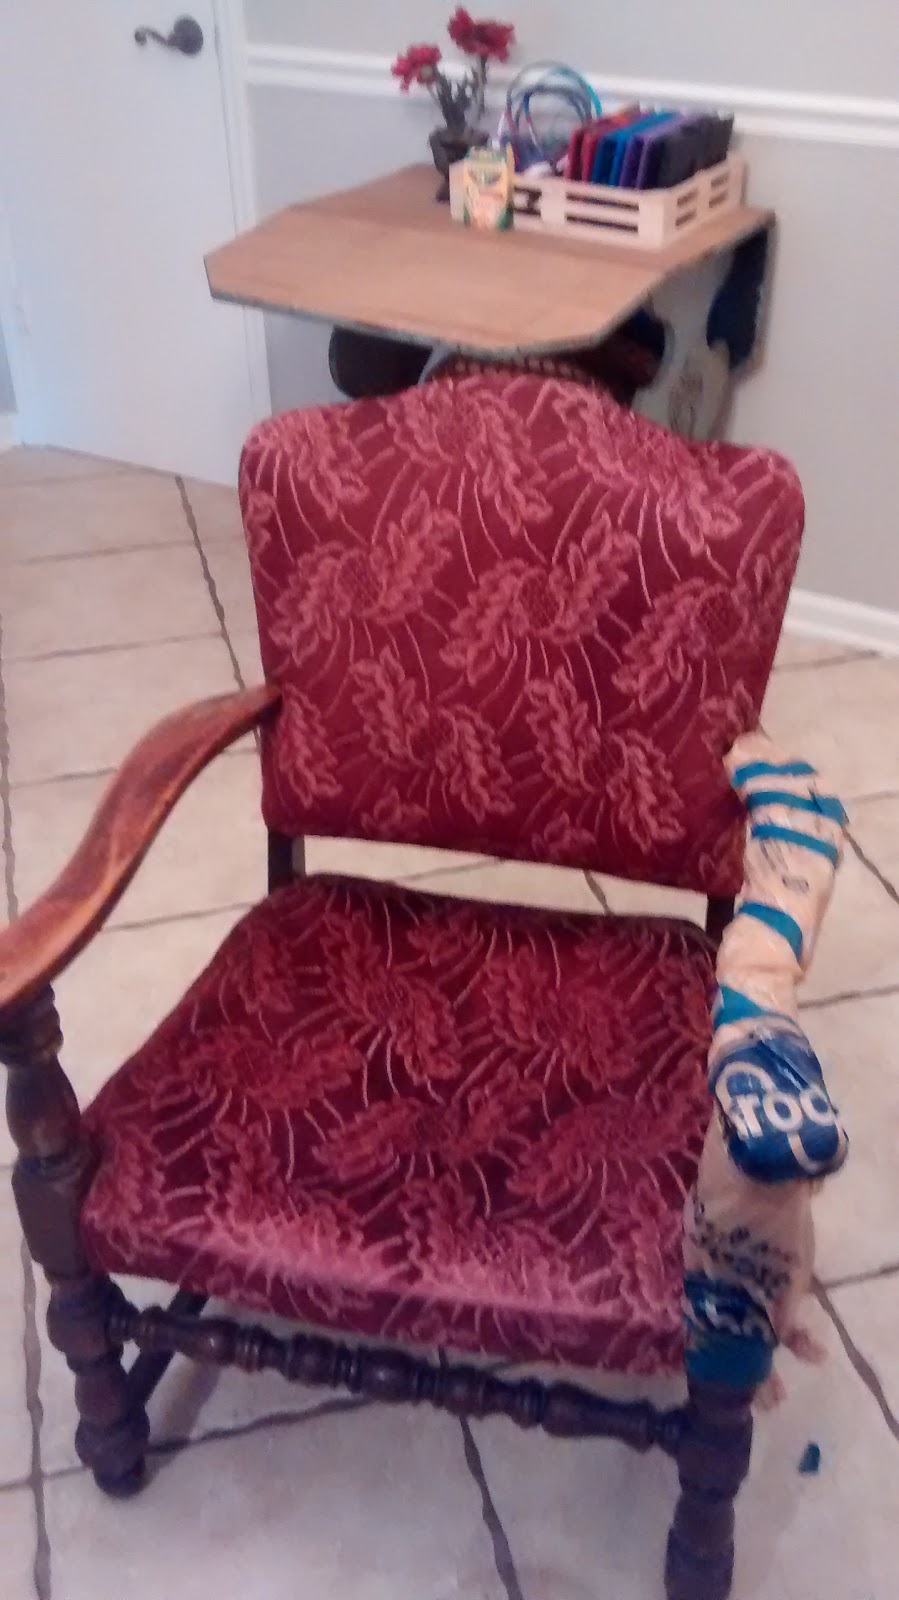
The chair started out looking like this:
Well, without the bags and painters tape. It was a sweet little chair that my BFFs grandma had bought at a garage sale years ago. It had been recovered several times. So I removed all the covering until it was down to the original. I had originally intended to recover it myself, but then I started seeing all of these posts about painting the fabric of furniture. One day I was having spray paint withdrawals(this happens from time to time when I haven't painted anything in a while. I blame the instant gratification...and the fumes), so I decided to wrap up the wood(which is the reason I loved this little chair in the first place), and go to town on it with the black paint. I had several cans of black paint, and I thought it might make a good accent piece if it was black.

Here it is midway through. This is my painting tarp(can you tell?), it's covered in just about every color paint under the sun. I always do spray paint outside because it gets on everything and smells TERRIBLE! Make sure you're working on a nice sunny day so you can leave it out to dry a bit.
 
Here is the point in the conversation that I must mention I used CHEAP black flat paint. I have since learned that there is spray paint that is specifically for fabric(haven't seen it for myself), but this is NOT that paint. Ha! This is the $.99 cans my husband picked up that one time I asked for black paint. I generally use Valspar only because I think it's the best at covering, still reasonably priced, and comes in TONS of trendy colors. You can usually match it to the regular paint as well, which is cool if you are needing to paint the wall to match.

Here it is finished. Don't you just love the contrast of the cherry colored wood and the black. I also like how the black pops against the gray wall. Now, I should mention that for the most part this chair isn't sat in. If someone sits in it its usually one of the kids. I wasn't too worried about the paint rubbing off on anyone because of it's lack of use. I also wasn't worried about if the fabric would become stiff. I honestly just wanted it to LOOK cute. I don't recommend using cheap paint on a piece that you want to use regularly, as this paint DID made the fabric a little stiff, but more importantly it DOES rub off if you rub on it too much. It may also have to do with the particular fabric on this chair as well, but like I said, since it's rarely used we aren't too worried about it. 


Here she is all dressed up. I love that we were able to bring new life to this chair without spending a dime! It looks just right for the space, and I love it! This is a picture I took right after I finished it.
Here it is this week. You can see that it still looks fine, but the color does show through a tiny bit, and it doesn't look as crisp as it did before. I'm still OK with it though. It serves it's purpose, and fits in just fine. SO, in the end, it's fine for this particular purpose, but I can't say that I recommend it for you unless you're OK with needing to recover it in the end(which we still may do some day), or scrapping it all together. Try doing some research on it(it's ALL over the internet these days) before taking the plunge like I did.