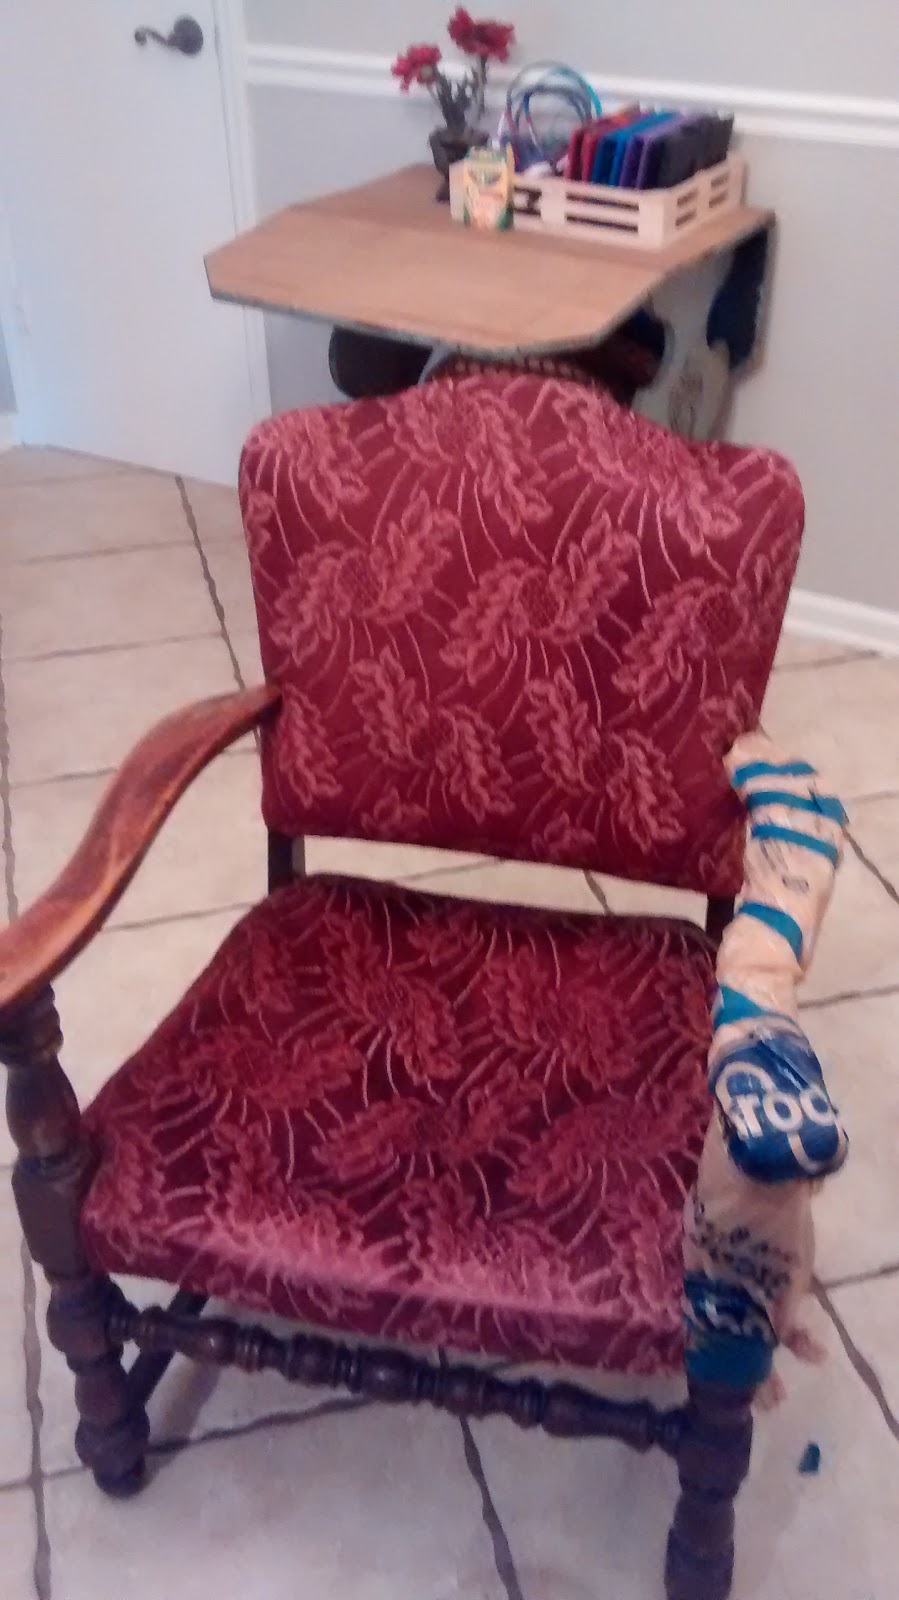
The chair started out looking like this:
Well, without the bags and painters tape. It was a sweet little chair that my BFFs grandma had bought at a garage sale years ago. It had been recovered several times. So I removed all the covering until it was down to the original. I had originally intended to recover it myself, but then I started seeing all of these posts about painting the fabric of furniture. One day I was having spray paint withdrawals(this happens from time to time when I haven't painted anything in a while. I blame the instant gratification...and the fumes), so I decided to wrap up the wood(which is the reason I loved this little chair in the first place), and go to town on it with the black paint. I had several cans of black paint, and I thought it might make a good accent piece if it was black.
Here it is midway through. This is my painting tarp(can you tell?), it's covered in just about every color paint under the sun. I always do spray paint outside because it gets on everything and smells TERRIBLE! Make sure you're working on a nice sunny day so you can leave it out to dry a bit.
Here is the point in the conversation that I must mention I used CHEAP black flat paint. I have since learned that there is spray paint that is specifically for fabric(haven't seen it for myself), but this is NOT that paint. Ha! This is the $.99 cans my husband picked up that one time I asked for black paint. I generally use Valspar only because I think it's the best at covering, still reasonably priced, and comes in TONS of trendy colors. You can usually match it to the regular paint as well, which is cool if you are needing to paint the wall to match.
Here it is finished. Don't you just love the contrast of the cherry colored wood and the black. I also like how the black pops against the gray wall. Now, I should mention that for the most part this chair isn't sat in. If someone sits in it its usually one of the kids. I wasn't too worried about the paint rubbing off on anyone because of it's lack of use. I also wasn't worried about if the fabric would become stiff. I honestly just wanted it to LOOK cute. I don't recommend using cheap paint on a piece that you want to use regularly, as this paint DID made the fabric a little stiff, but more importantly it DOES rub off if you rub on it too much. It may also have to do with the particular fabric on this chair as well, but like I said, since it's rarely used we aren't too worried about it.
Here she is all dressed up. I love that we were able to bring new life to this chair without spending a dime! It looks just right for the space, and I love it! This is a picture I took right after I finished it.
Here it is this week. You can see that it still looks fine, but the color does show through a tiny bit, and it doesn't look as crisp as it did before. I'm still OK with it though. It serves it's purpose, and fits in just fine. SO, in the end, it's fine for this particular purpose, but I can't say that I recommend it for you unless you're OK with needing to recover it in the end(which we still may do some day), or scrapping it all together. Try doing some research on it(it's ALL over the internet these days) before taking the plunge like I did.


No comments:
Post a Comment